 Avg. 6 min read
 How to Set Up Pages
This guide explains how to configure Hello Retail Pages, what is required to make them work efficiently, and how to create both a design and a page.
For an in-depth introduction to Pages, read this guide here.
For API documentation for Pages, see here.
There are three methods for implementing and setting up Pages:
You can read about each method in its dedicated guide.
The following sections relate to the Introduction to Pages guide.
How to Set it Up - New Design
Start by creating a design to use for your Pages.
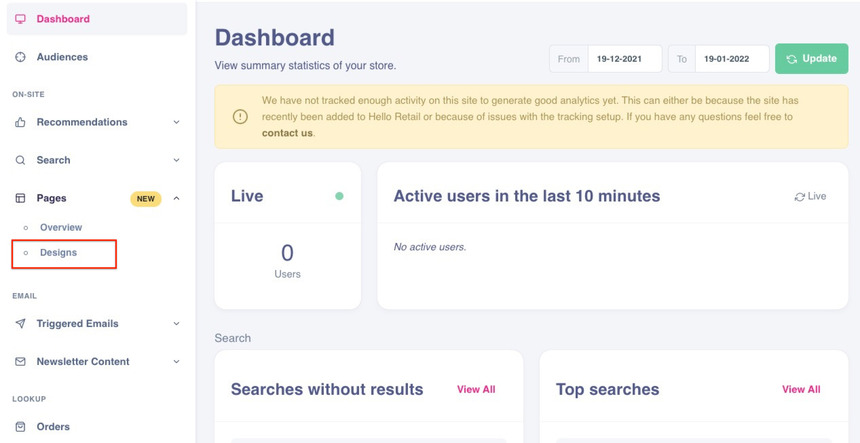
- Log in to your Hello Retail account. In the left-hand menu, under the On-Site section, click Pages to unfold the drop-down menu.
- From the drop-down menu, click Design.
- Click Create to create a design for your page.
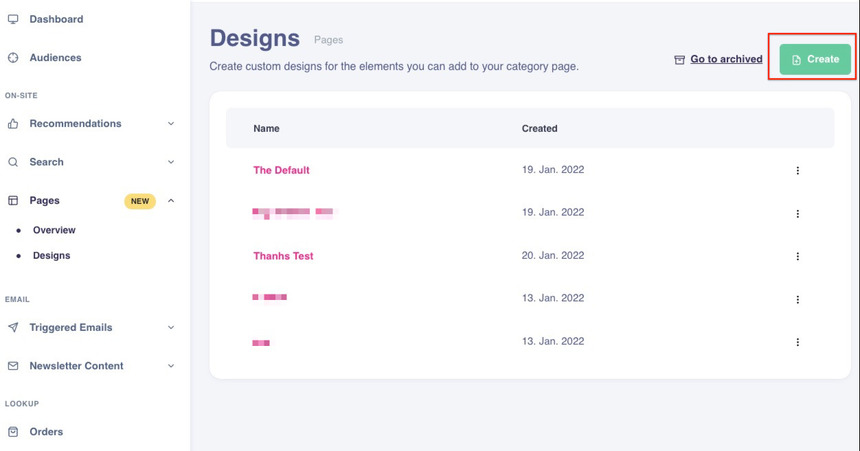
- Create and customize your design.
-
New designs include pre-filled fields to help you get started. Adjust these to fit your webshop.
This video shows step 4 to 5.
-
Click Save when the required fields are complete.
How to Set it Up - New Page
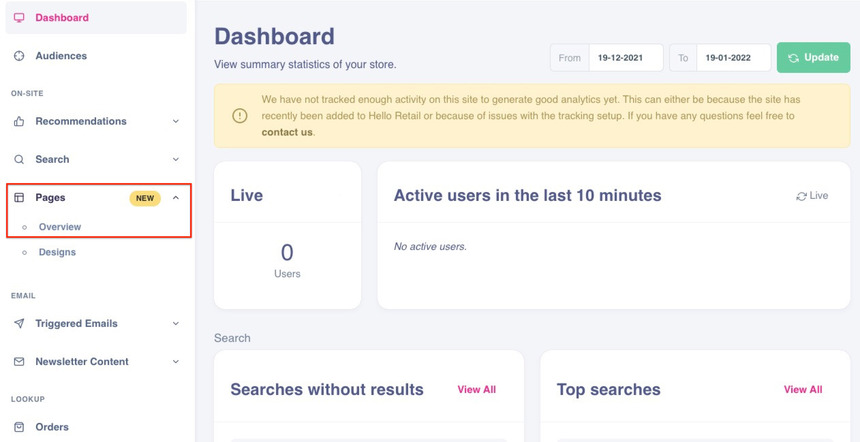
- Log in to your Hello Retail account. In the left-hand menu, under the On-Site section, click Pages to unfold the drop-down menu.
- From the drop-down menu, click Overview.
- Click Create to create a new category page.
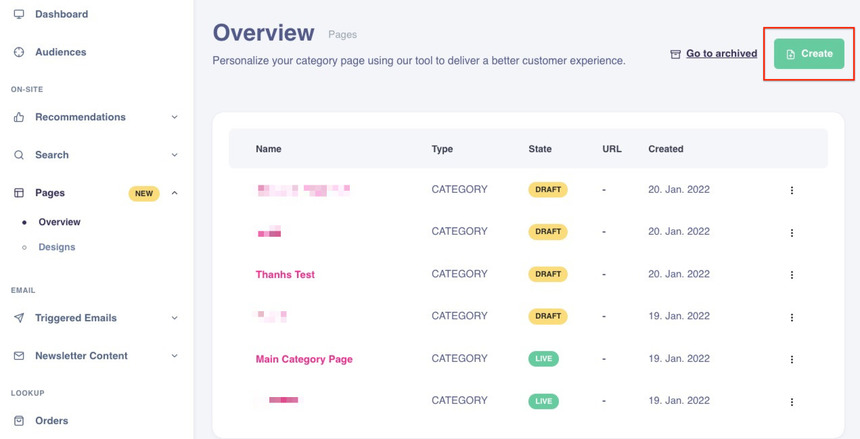
- Name the category page according to its purpose.
- Fill in the fields required for your use case. Provide clear filter criteria and settings for the page.
- Choose the default design or select your own design. See how to create a design here.
-
Click Save when the necessary fields are complete.
This video shows steps 4 to 7.
-
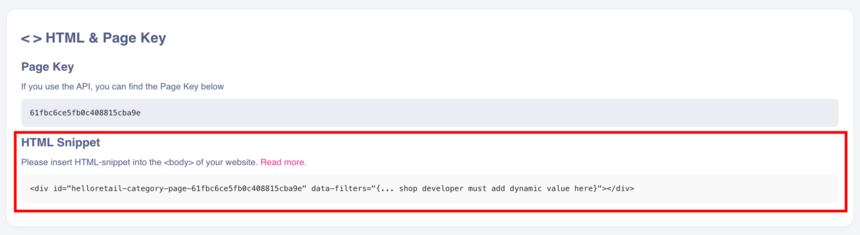
At the bottom, in the <> HTML & Page Key section, copy the auto-generated HTML code snippet.
Product Overrides
As mentioned in the Introduction to Pages guide, Hello Retail supports Product Overrides in Pages.
Product Overrides consists of the Path or URL, Products, and Boosts sections.
To override a page, click Add in the Product Overrides section and specify the URL of the page. Then manually add and sort the products you want to promote so they appear first. The remaining products will follow according to the selected boosting.
Note
A default popularity boost is always applied to products and cannot be removed.
Toggling on Only Manual Products restricts the page to only the products you add and prioritize. Other products related to that page will not be shown.
You can choose to override some or all products on a specific Category Page.
The Placement of the HTML Snippet
- Go to the backend of your webshop platform.
-
Insert the HTML code snippet you copied into the
<body>tag.Note
The placement of the snippet determines where the category page renders. Paste the HTML snippet inside the
<body>of your webshop at the desired position.
Our system will detect the tag and render the page at that exact position. To change the position, move the div tag to another location in your template.
Ask your developer to implement logic that dynamically inserts this div with the correct data attributes for each category route.
Ensure that the data attribute values match your product attributes and filters exactly. Names, values, and casing must align with your webshop and product feed.
Read the requirements and prerequisites here.
Single Page Application (SPA)
A single-page application (SPA) loads the required resources on the first page load and then updates the current view by fetching data dynamically. This differs from multi-page applications that reload the entire page on navigation.
Read more about SPAs in the API documentation here.
Reference: https://developer.helloretail.com/guides/spa/page_tracking_for_spa/
Advanced syntax
Pages supports advanced filter syntax with AND and OR, including nested filters.
Advanced Examples
Case 1: Show products on a category page from two different hierarchies. For example, all products in Shoes OR Shirts.
<div
  id="helloretail-category-page-123456"
  data-filters='{ "hierarchies": { "$or": [["Shoes"], ["Shirts"]] } }'
></div>
Another way to write this:
<div
  id="helloretail-category-page-123456"
  data-filters='{ "$or": [
    { "hierarchies": ["Shoes"] },
    { "hierarchies": ["Shirts"] }
  ] }'
></div>
Case 2: Show products on a category page where they all belong in two hierarchies. For example, all products in Female AND Shoes.
<div
  id="helloretail-category-page-123456"
  data-filters='{ "hierarchies": { "$and": [["Female"], ["Shoes"]] } }'
></div>
Another way to do this:
<div
  id="helloretail-category-page-123456"
  data-filters='{"$and": [
    { "hierarchies": ["Female"]},
    { "hierarchies": ["Shoes"]}
  ]}'
></div>
If the hierarchy has multiple levels it could be expressed as:
<div
  id="helloretail-category-page-123456"
  data-filters='{ "hierarchies": { "$and": [["Female","Shoes"], ["Female","Shirts"]] } }'
></div>
Case 3: Show products in a specific category that are on sale. For example, all products in Women AND isOnSale is true.
<div
  id="helloretail-category-page-123456"
  data-filters='{ "hierarchies": ["Women"], "isOnSale": true }'
></div>
The same as:
<div
  id="helloretail-category-page-123456"
  data-filters='{"$and": [
    { "hierarchies": ["Women"]},
    { "isOnSale": true}
  ]}'
></div>
When multiple filters are present in one object without an explicit AND or OR, it defaults to AND, as shown in the first example in Case 3.
Case 4: Show all products from two different hierarchies that are also on sale. For example, all products in Women OR Shoes, but only those that are on sale.
<div
  id="helloretail-category-page-123456"
  data-filters='{
    "hierarchies":
      { "$or": [["Women"], ["Shoes"]] },
      "isOnSale": true
  }'
></div>
In the example above there is an implicit AND between the hierarchies and isOnSale.
Case 5: Show all products that are in (brand “Nike” and isOnSale) or in brand “NoName”.
<div
  id="helloretail-category-page-123456"
  data-filters='{
    "$or": [
      {
        "$and": [
          { "brand": "Nike" },
          { "isOnSale": true }
        ]
      },
      { "brand": "NoName" }
    ]
 }'
></div>