 Avg. 3 min read
 How to Add Newsletter Content to Drip
This guide explains how to add your Hello Retail Newsletter Content code snippet to Drip.
Note
Use a unique campaign name for each newsletter. Hello Retail uses the campaign name as the unique ID. Reusing a name can result in duplicated products in the email.
Prerequisite
Before you create an auto campaign, you must create a Newsletter Content design. To learn how, click here. When your design is ready, proceed with this guide to integrate with Drip.
How to get your Hello Retail code snippet
Step 1: Log in to your Hello Retail account here and create an auto campaign for the product recommendations you want in the newsletter. (If you already made a design you can skip to Step 4)
Step 2: When you are logged in, navigate to: Newsletter Content > Auto campaigns.
- If you already have an "Auto campaign config", click the "Edit auto campaign config" button.
-
If you do not have an "Auto campaign config", follow the steps below.
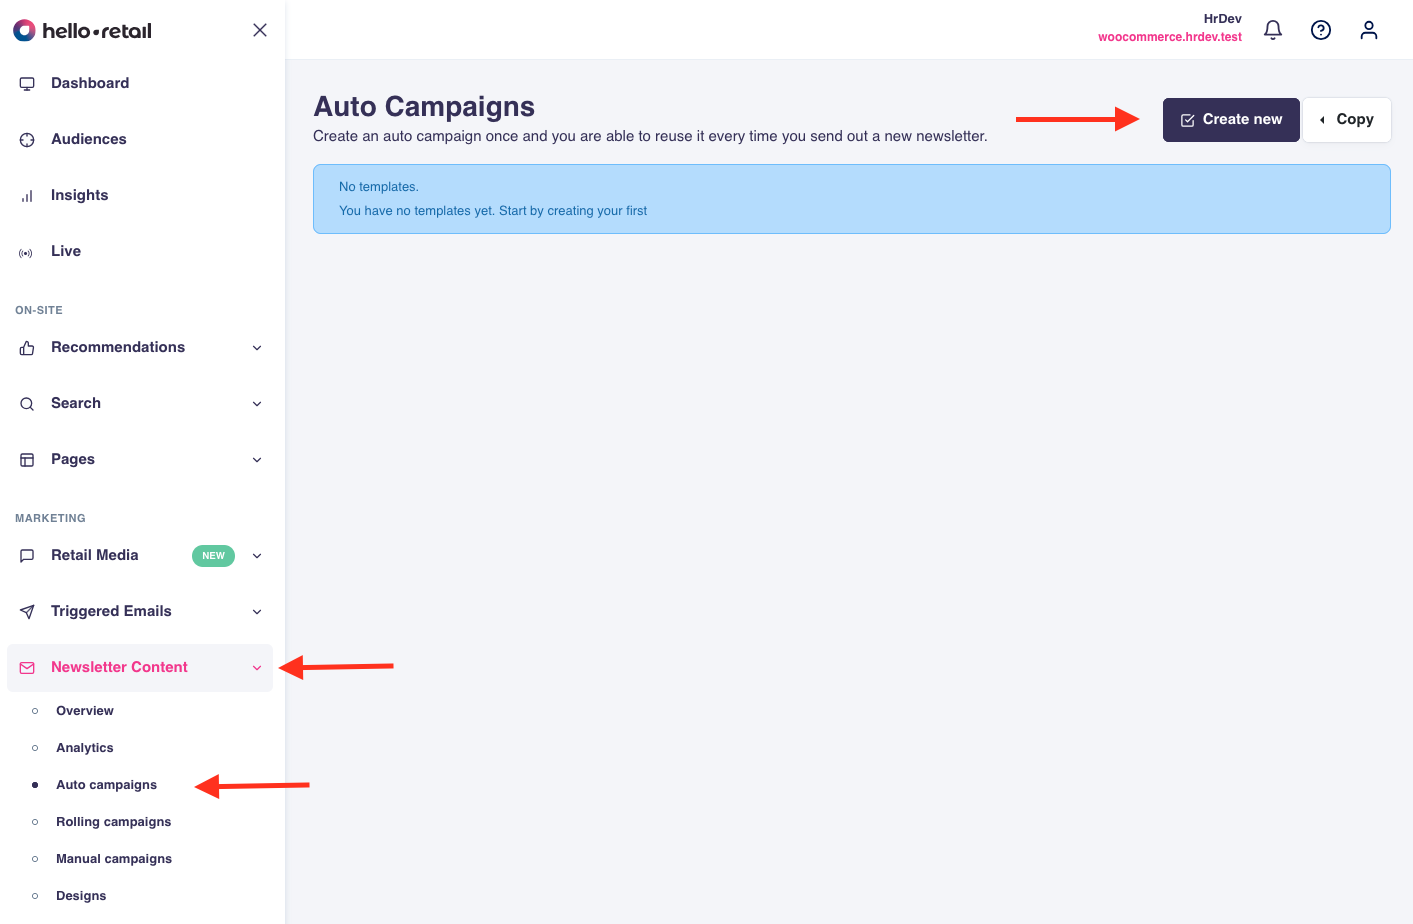
(Click "Create new" to create a campaign and get the code snippet)
Step 3: Fill out the fields, including how many products should be shown in total.
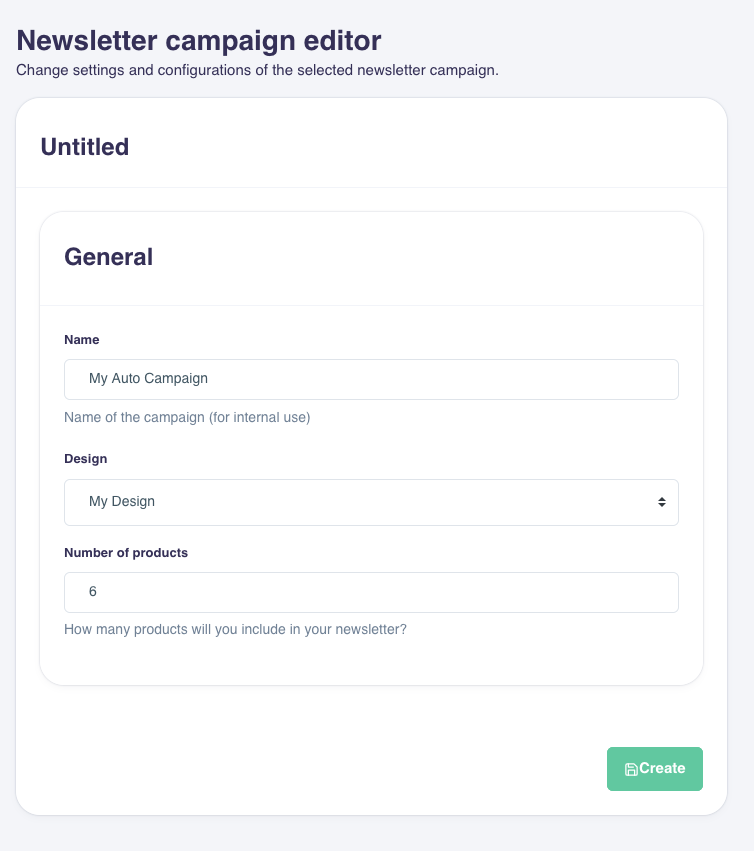
(Fill out the fields as shown)
Step 4: Optionally select fixed products that should always be shown, and choose a "Recommendation strategy" (or keep the default). Then click the "Code snippet" tab, select "Drip" as the newsletter platform, and copy the code snippet shown.
(Select Drip as newsletter platform and copy the code snippet as shown)
Step 5: You are now done in Hello Retail and ready to insert the newsletter content into your Drip email template.
How to insert the Hello Retail code snippet into Drip
Step 1: Log in to your Drip account at https://www.getdrip.com/signin.
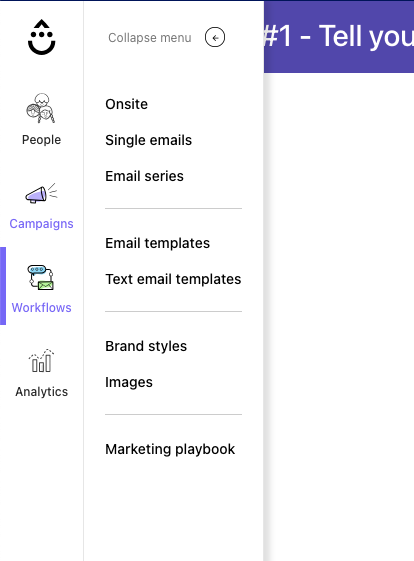
Step 2: In the admin, go to Campaigns and select Single emails or Email series, depending on where you want to add newsletter content.
Step 3: After selecting the email type, edit the campaign or workflow where you want to add newsletter content.
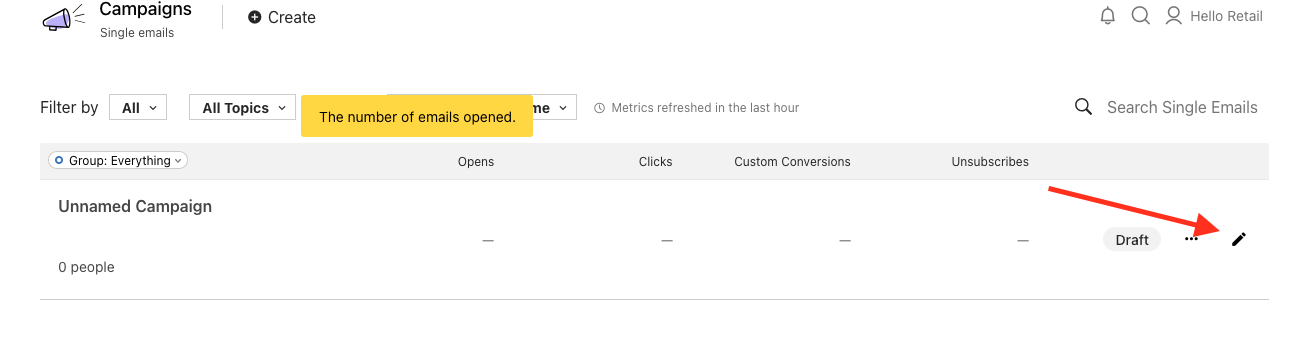
(Click the pencil to edit a single email campaign)
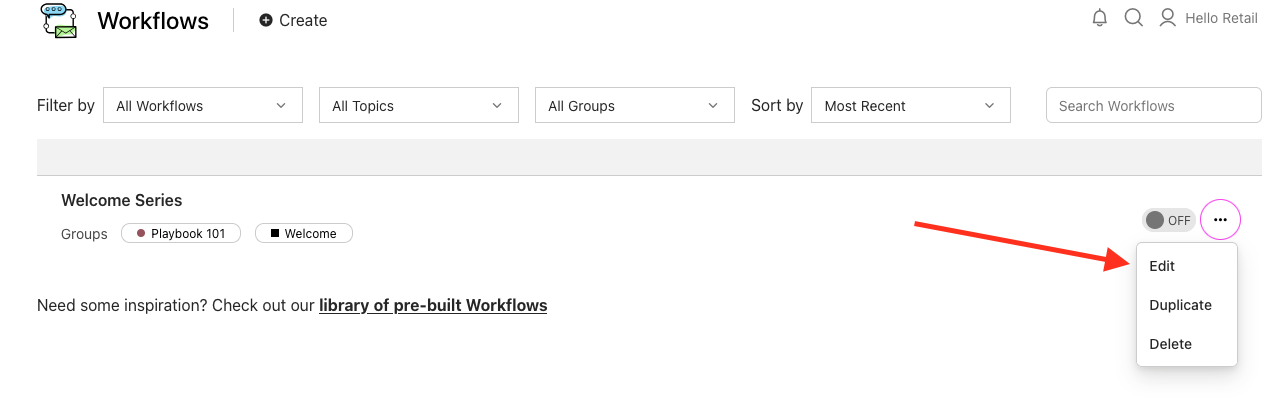
(Click the dots and click "Edit" to edit a workflow)

(Click the box of the specific mail in the flow to edit in the flow)
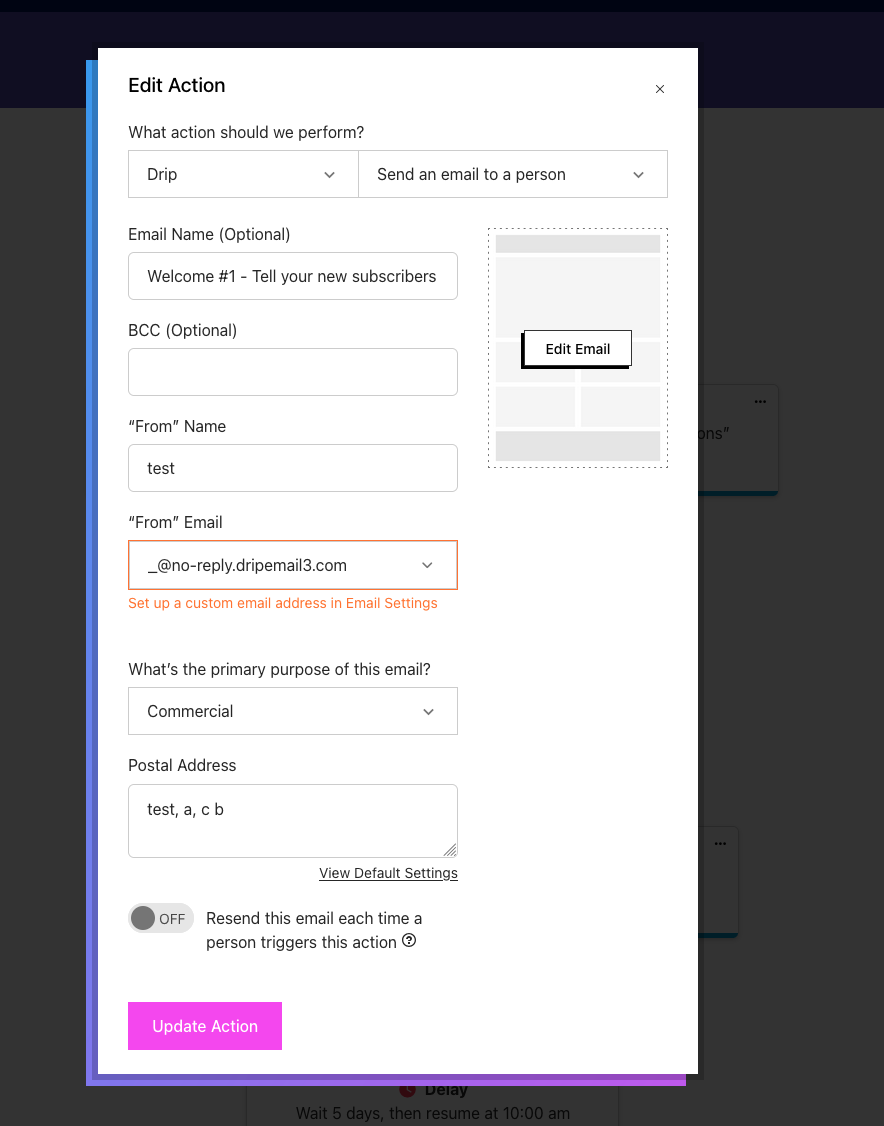
(Click Edit Email)
Step 4: For both single emails and workflows, the email editor works the same. Add a text block in the desired section and paste the Hello Retail code snippet into that block. See the video guide below for a walkthrough.
Step 5: Complete the newsletter as you normally would.
Step 6: Send a test email to verify everything renders as intended before sending to your subscribers.