 Avg. 4 min read
 Starweb Installation Guide

Enable the Starweb integration
To get started with Hello Retail on your Starweb webshop, contact Starweb support. They will enable the integration between Starweb and Hello Retail. When enabled, Starweb will add the general Hello Retail tracking script and activate conversion and cart tracking on your webshop.
Share your product data with Hello Retail
For best performance, Hello Retail needs accurate and descriptive data about all products, categories, and orders in your webshop.
Use Starweb’s API integration to share this data. Follow these steps:
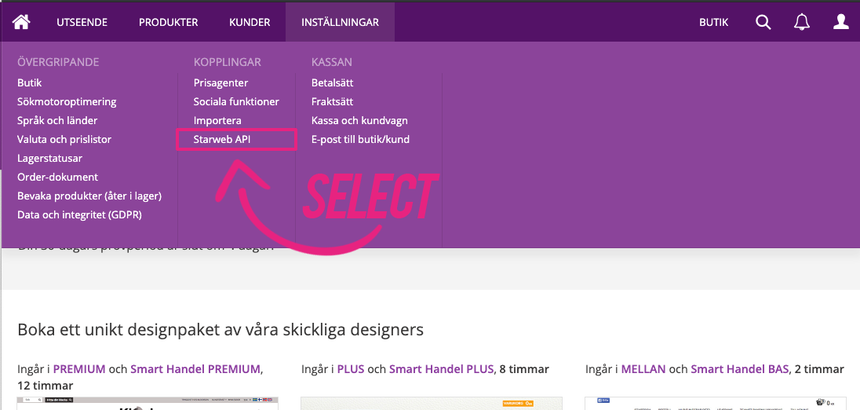
Step 1: From the menu, navigate to: Inställningar > Kopplingar > Starweb API. (see image below)
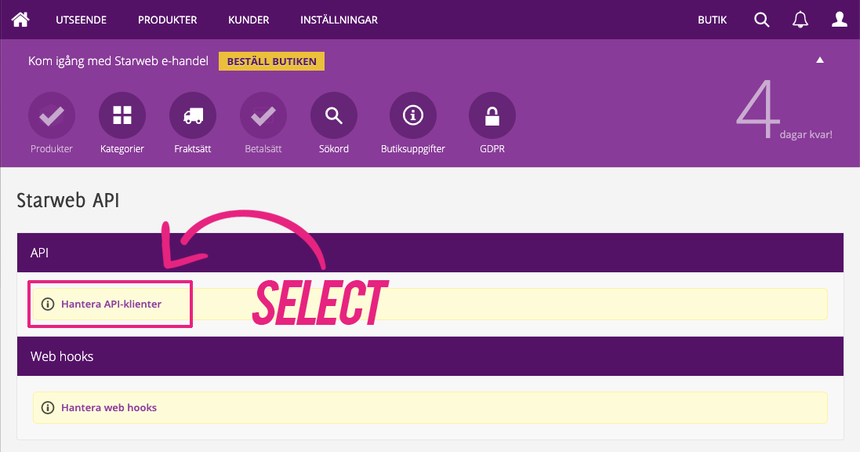
Step 2: In Starweb API > API, select "Hantera API-klienter" to create a new API integration for Hello Retail.
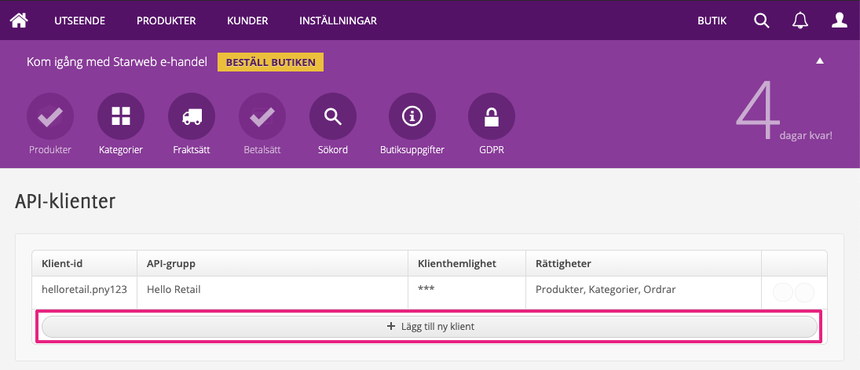
Step 3: In API-klienter, click "Lägg till ny klient" to create a new API client.
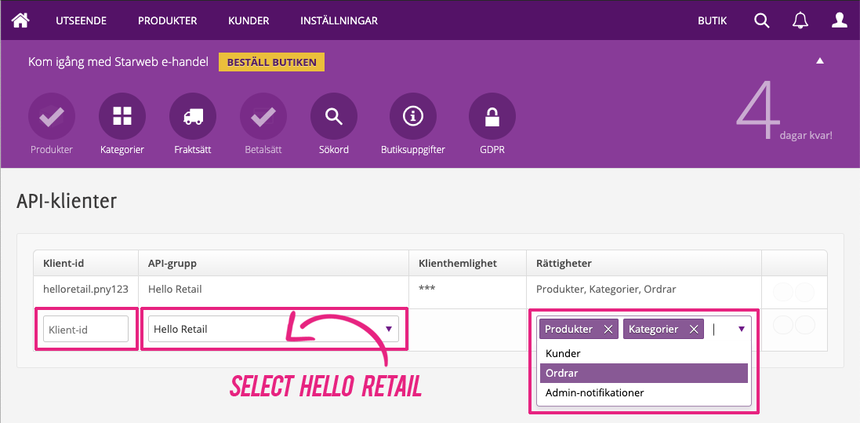
Final Step: Configure the API client with the following values:
- Klient-id: Choose any name, for example: your-shopname.
- API-grupp: Select "Hello Retail" from the drop-down.
- Rättigheter: Select Produkter, Kategorier, and Ordrar.
Step 5: After creating the API integration, copy the Client secret (Klienthemlighet). Send it to Hello Retail together with your Client ID (Klient-id).
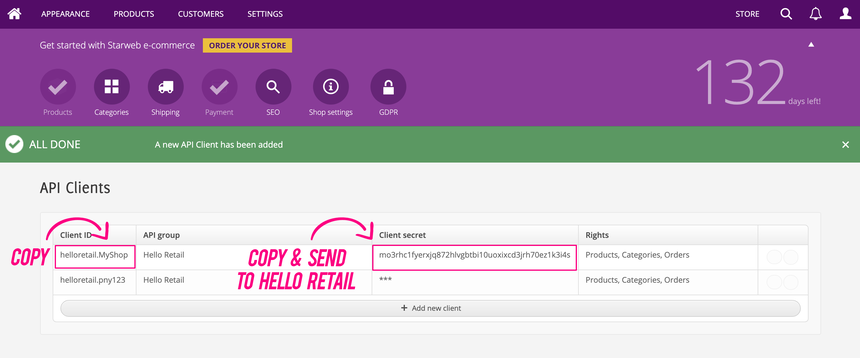
The API integration is now created. Hello Retail will use these credentials to set up your services.
Create a blank search page for Hello Retail Search
The following section is only relevant for setups involving a dedicated full search page
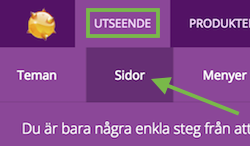
Step 1: Navigate to Utseende > Sidor:
Step 2: Choose to add a new page (via: "Lägg till ny sida"):

Step 3: Give this new page a clear name, for example: Search results:
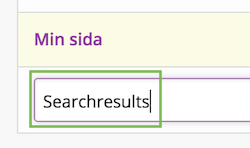
Note
Do not name the page "Sökresultat" (sokresultat). Starweb reserves this page name.
Step 4: Remove the page header (via: "Dölj huvudrubrik") to ensure the page is blank:
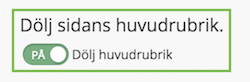
Now Save your changes.
Note
Steps 5–12 are typically not required. Skip to Step 13 unless Hello Retail explicitly instructs you to complete them.
Step 5: Next, navigate to Utseende > Menyer:
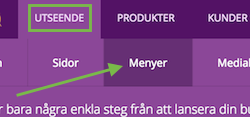
Step 6: Choose to add a new menu (via: "Lägg till ny meny"):

Step 7: Name the new menu, for example: Menu (or "Meny"):
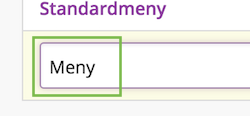
Remember to Save your changes.
Step 8: Edit the new menu by adding the pages you need in the navigation.
Replicate the structure of the default menu Standardmeny. You cannot hide the new blank search page from Standardmeny, so exclude the new search page when creating this new menu:
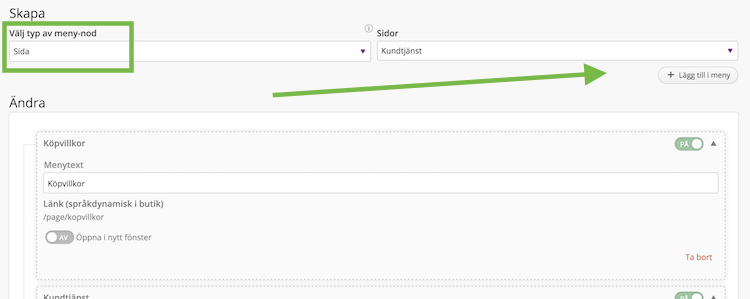
Remember to Save your changes.
Step 9: As the final step, navigate to Utseende > Teman:
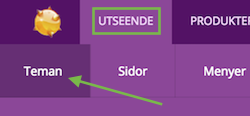
Step 10: Choose to edit your theme:
Step 11: Edit the menu ("Meny"):
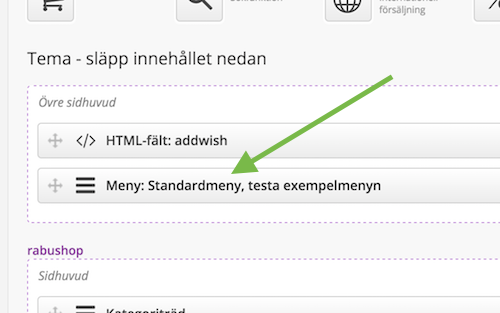
Step 12: When editing the menu, select the newly created menu from the previous steps:

Remember to Save your changes.
Step 13: After publishing the new blank search page and menu, send the URL of the blank search page to Hello Retail to finalize the dynamic search setup.
The URL will look similar to: http://YOUR_WEBSHOP_DOMAIN/page/searchresults if you named the page Searchresults.
Configure Webshop
After the installation setup of your platform and the onboarding flow, make sure to have your webshop configured. Read this guide here on how to do so: