 Avg. 6 min read
Setting up Klaviyo
This article walks you through how to connect Product Agents to Klaviyo and complete the required setup so emails can be sent correctly.
The setup only needs to be done once. After that, Product Agents use your existing Klaviyo setup to send messages automatically.
What you need before you start
Before starting the setup, make sure you have:
- Access to your Klaviyo account
- Permission to create and edit flows
- Permission to create and edit email templates
If you are working with an agency or partner, make sure they have the same level of access.
Step 1: Connect Klaviyo to Product Agents
The first step is to connect your Klaviyo account to Hello Retail.
- Go to Product Agents in Hello Retail
- Start the onboarding flow if you have not already done so
- Paste your Klaviyo API key when prompted
- Confirm the connection
Once connected, Hello Retail can send Product Agent messages to Klaviyo.
Required API permissions
Your Klaviyo API key must include permissions to:
- Read access to Lists, Segments, Profiles, Metrics & Campaigns
- Full access to Templates, Events & Flows
If the permissions are incomplete, the setup will stop and show an error message explaining what is missing.
Step 2: Create the Klaviyo flow
Product Agents use a dedicated Klaviyo flow to send emails.
- Log in to Klaviyo
-
Go to Flows
-
Create a new flow by clicking Create Flow and then Build your own and Create manually
-
Select Your metrics and select helloretail within API
-
Save the flow
This flow will be used for all Product Agent messages.
Note
By default, the trigger should not have any additional filters. Trigger Filters are an optional advanced configuration — see Using Trigger Filters later in this article if you want to track individual agents separately.
Step 3: Add the email action to the flow
Next, you need to add an email action to the flow.
Add an Email action to the flow
Product Agents control when the email is triggered. Klaviyo controls how the email is sent.
Step 4: Configure subject line and preview text
Product Agent emails require a dynamic subject line and preview text.
During onboarding, you will be guided to:
-
Add a subject line by putting
{{ event.subject }}into the subject line field -
Add a preview text by putting
{{ event.previewText }}into the Preview Text field
These fields ensure the subject and preview match the specific product and message being sent.
If these fields are missing or incorrect, emails may be blocked or appear incomplete.
Step 5: Set up the email body template
The email body uses Product Agent content blocks.
To complete the setup:
-
Open the email template in Klaviyo
-
Insert the Product Agent code snippets where indicated
-
Keep any required blocks intact
- Customize styling, branding, and layout as needed
Product Agents will automatically populate:
- Product information
- Message text
- Calls to action
You stay in full control of design and branding.
Step 6: Review consent and smart sending settings
Product Agent emails respect your existing Klaviyo settings.
Before testing or going live, review:
- Consent settings in Klaviyo
- Smart sending rules applied to the flow
Smart sending can prevent test or live emails from being delivered if a recipient was emailed recently.
This is expected behavior and does not indicate a setup issue.
Step 7: Send a test message
Before going live, you should always send a test message.
From Product Agents:
- Enable test mode
- Send a test message to your test email address
From Klaviyo:
- Confirm the email was received
- Check that product information and content appear correctly
If the test email does not arrive, the most common reasons are:
- Smart sending blocking the email
- Missing consent
- The flow or email is not live
What happens after setup
Once setup is complete:
- Product Agents can be enabled
- Messages will start scheduling automatically
- You will see upcoming messages in the dashboard
No further Klaviyo configuration is required for day-to-day use.
Using Trigger Filters in Klaviyo for Agent-Level Analytics
This is an optional configuration. By default, all Product Agent events flow through the single flow you created in Step 2.
If you want to track the performance of each agent separately using Klaviyo’s native flow analytics, you can create one flow per agent and use Trigger Filters to route only that agent’s events into its corresponding flow.
To set this up, create a new flow for each agent following the same steps as Step 2. Then, for each flow, click on the Trigger and configure a Trigger Filter as described below.
Warning
When setting up Trigger Filters you need to make sure that you have a filter for each of the agents that are currently active on your account. This needs to be done to make sure that there are not multiple flows receiving the same event and you are thereby risking sending the same message twice.
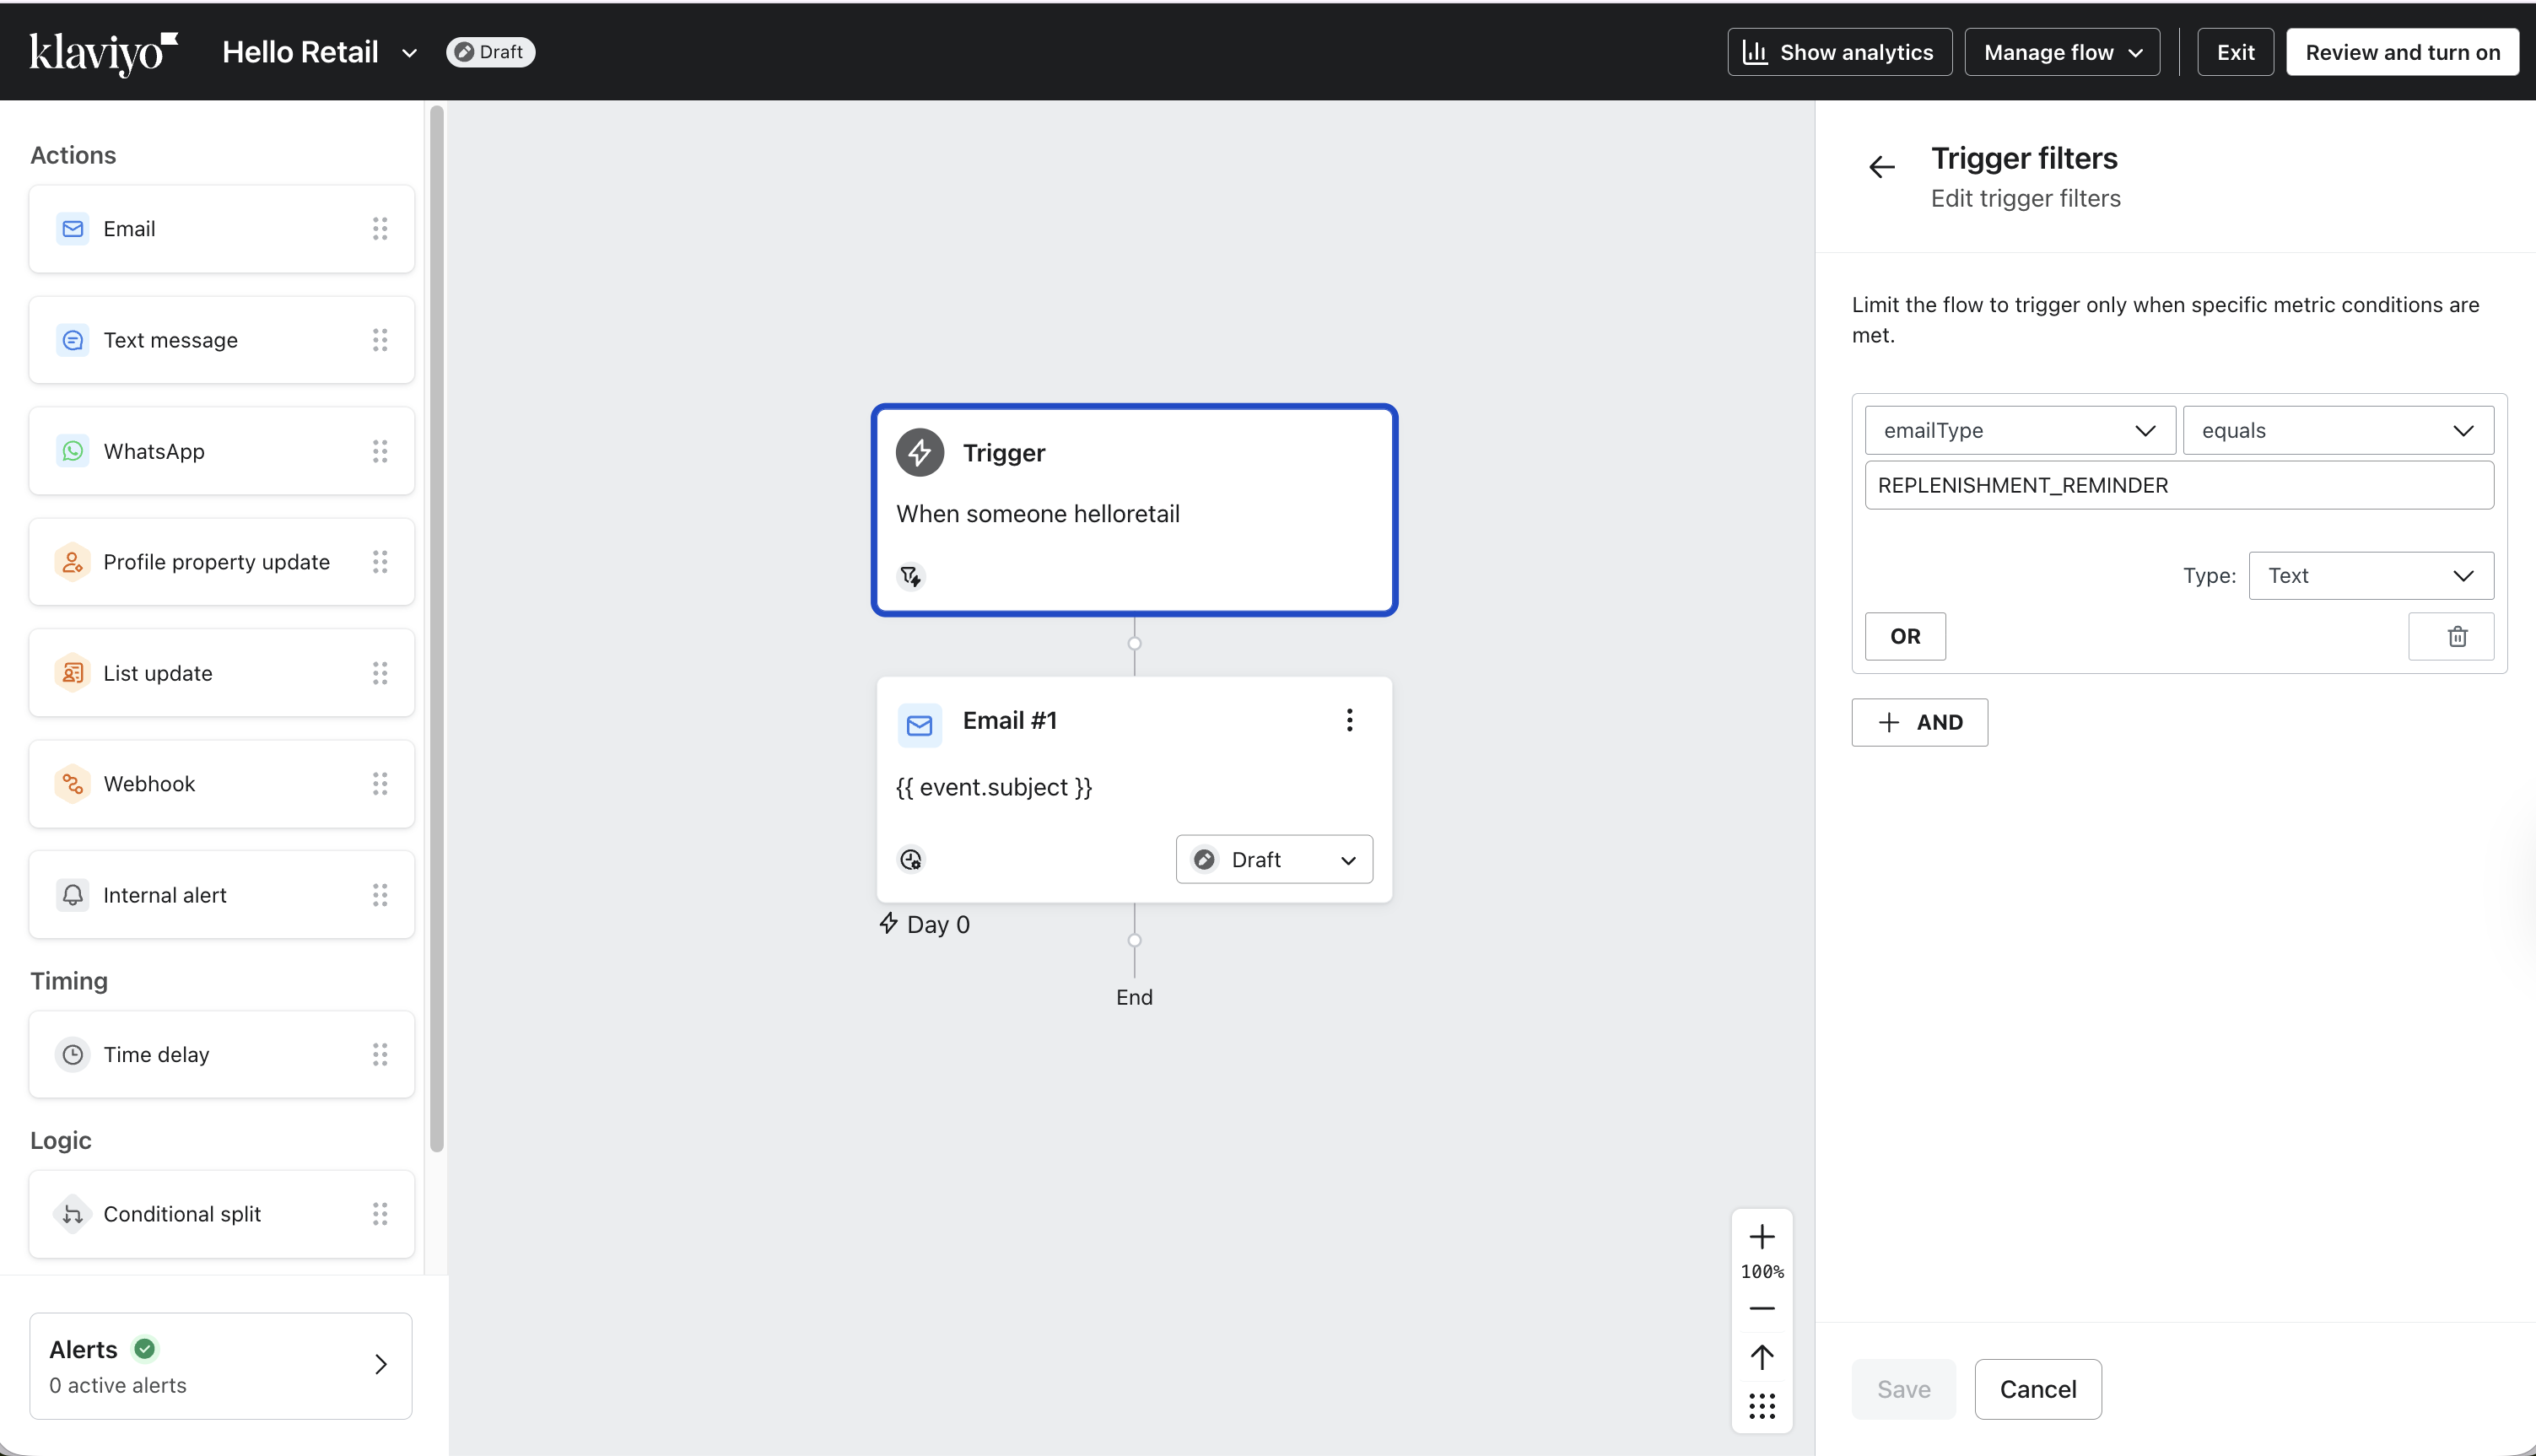
In the trigger settings panel, you will find Trigger Filters on the right-hand side. Click Add and select messageType from the dropdown.
messageType is an event property sent with every Product Agent message and identifies which agent generated the event (for example replenishment, price drop, or alternative product).
Select the specific email type that this flow should track. Only events matching this filter will enter the flow and be included in its analytics.
In case you do not see a selector in the UI you can copy in the following values into the selection field:
Replenishment Reminder
Alternative Picks
Recommended Add-ons
Price Drop – Viewed Product
Price Drop – Purchased Replenishment
Price Drop – Alternative Product
Repeat this setup for each Product Agent you want to track individually, using one flow per agent.
Trigger Filters can also be used with other event properties, such as language. This is useful if multiple websites or languages are sending data into the same Klaviyo account and you want to separate flows and reporting.
As long as each agent has a corresponding flow with the correct Trigger Filter, all Product Agent messages will be routed correctly and tracked at the agent level in Klaviyo.
Optional: Disable AI-generated text
By default, Product Agents generate dynamic text content for your emails using AI.
If you prefer to use your own static text instead, you can disable the AI-generated content directly in your Klaviyo template.
To do this, simply remove the following variables from your template:
- {{ event.headline }} -- the title of the email
- {{ event.otherProductsTitle }} -- the title for the secondary product section
- {{ event.otherProductsText }} -- the supporting text for the secondary product section
You can then replace these with any static text of your choice.
Customizing instead of removing
If you still want to use AI-generated content but adjust how it sounds, you have full control over the output.
You can:
- Change the tone of voice — go to Product Agents > Settings
- Define custom prompts per agent — see how to customize output here
This allows you to keep the benefits of dynamic content while aligning it with your brand voice.
Troubleshooting: Why was no email sent?
If an expected email was not received, there can be several possible reasons:
-
The Klaviyo flow is not set live
The flow may exist but is still in draft mode, so the event does not trigger any emails. -
Smart Sending is enabled in the flow
If the recipient has already received another email within the Smart Sending window (if set up for the flow in Klaviyo), it may suppress the message. -
Flow filters prevent the email from triggering
The event may be sent correctly, but the filters in the flow do not match the event data. -
The flow is not triggered by the Product Agent event
The Klaviyo flow must listen to the correct event from Hello Retail in order to send emails. -
The email address has unsubscribed from marketing emails
If the recipient has previously unsubscribed, Klaviyo will not send the message.
Product Agents send events to Klaviyo. Whether an email is actually sent depends on the configuration of the Klaviyo flow.
Next step
After completing setup, the next step is to review the available Product Agents and decide which ones to enable.
Continue with: Available Agents and Use Cases