 Avg. 4 min read
 How to create your own Product Recommendations
Build Product Recommendations in your Hello Retail backend. Configure the design, a custom recommendation strategy, how many products to show, and more.
Log in to your Hello Retail backend: https://my.helloretail.com/company/signin.html
Step 1:
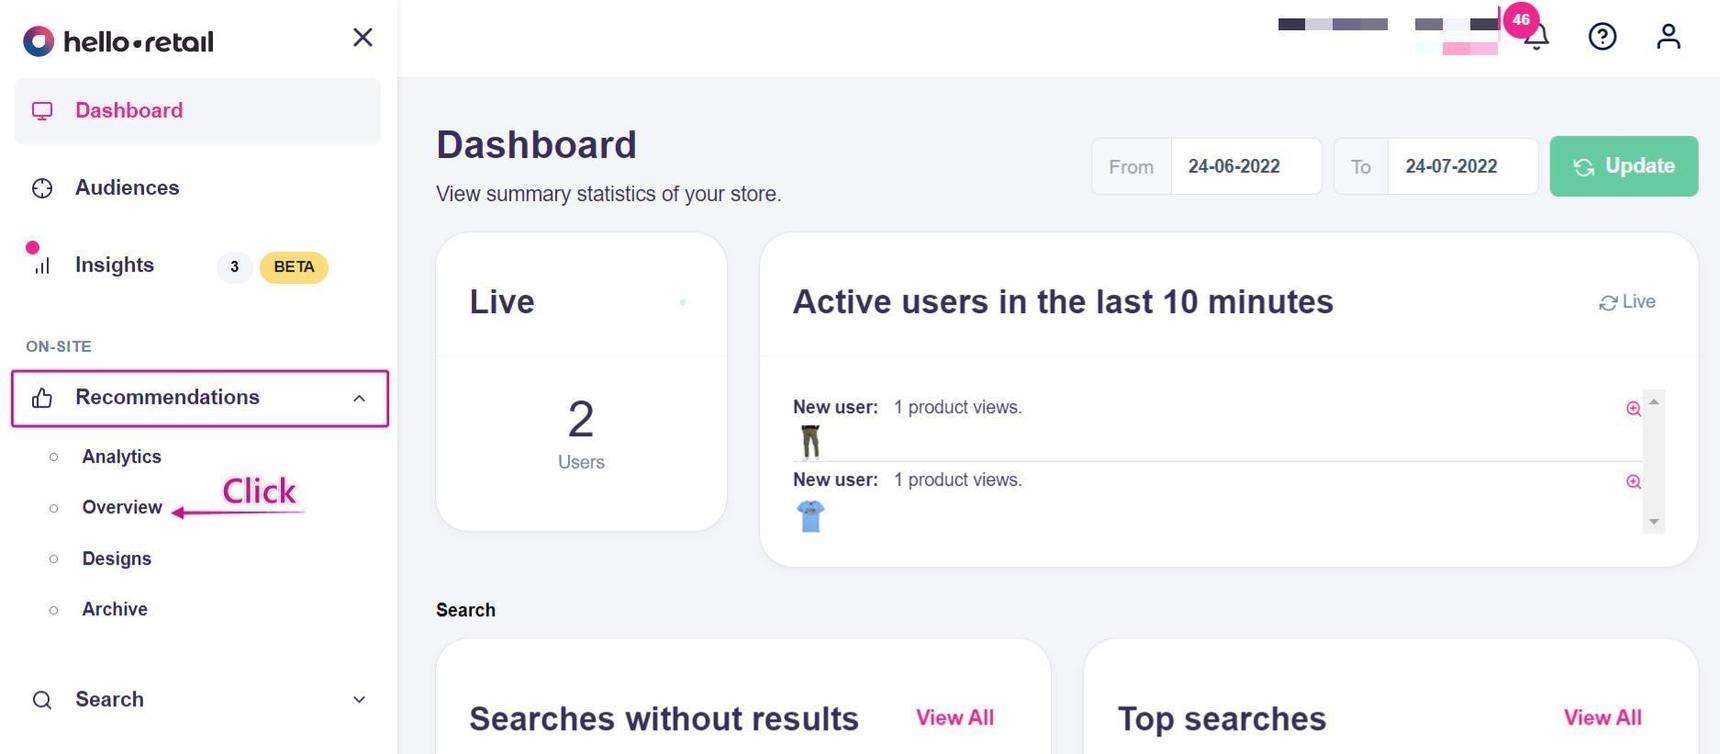
From the left sidebar menu, go to: ON-SITE > Recommendations > Overview.
Step 2:
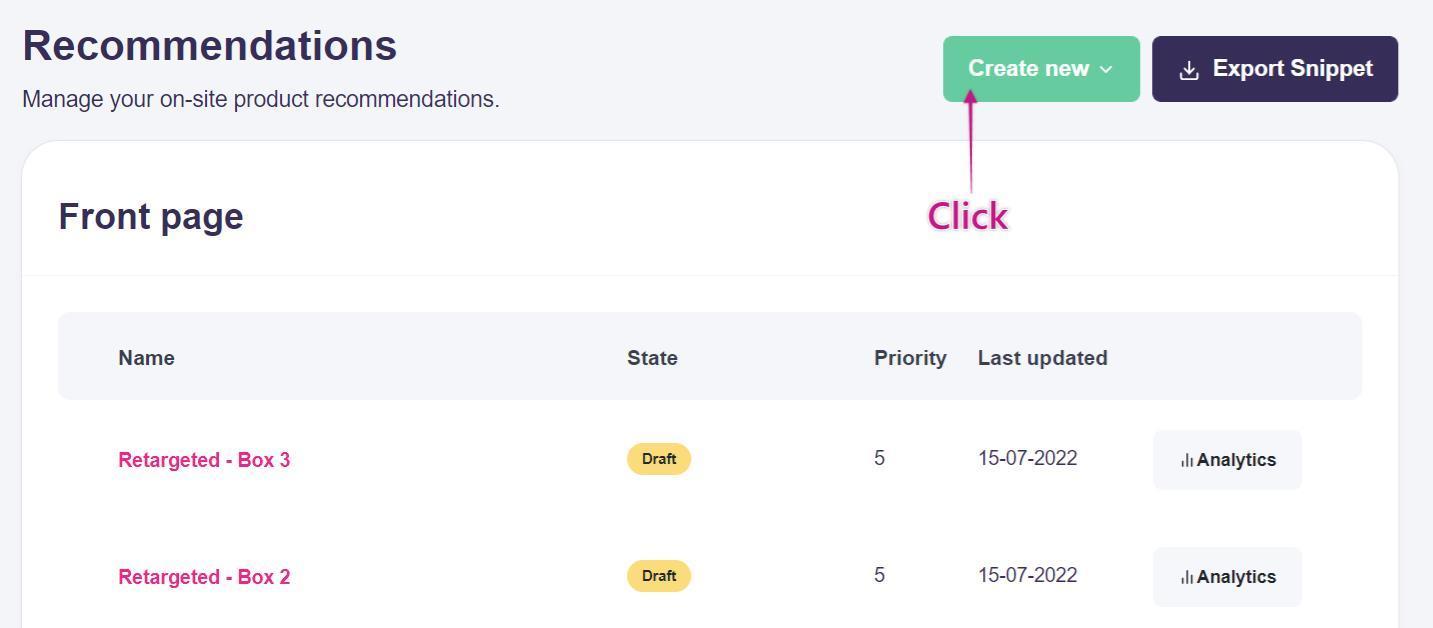
This page lists all active Product Recommendations. If the list is empty, no Product Recommendations are currently configured on your site.
In this example, we will create a new recommendation and then edit it.
Click the button Create new.
Step 3:
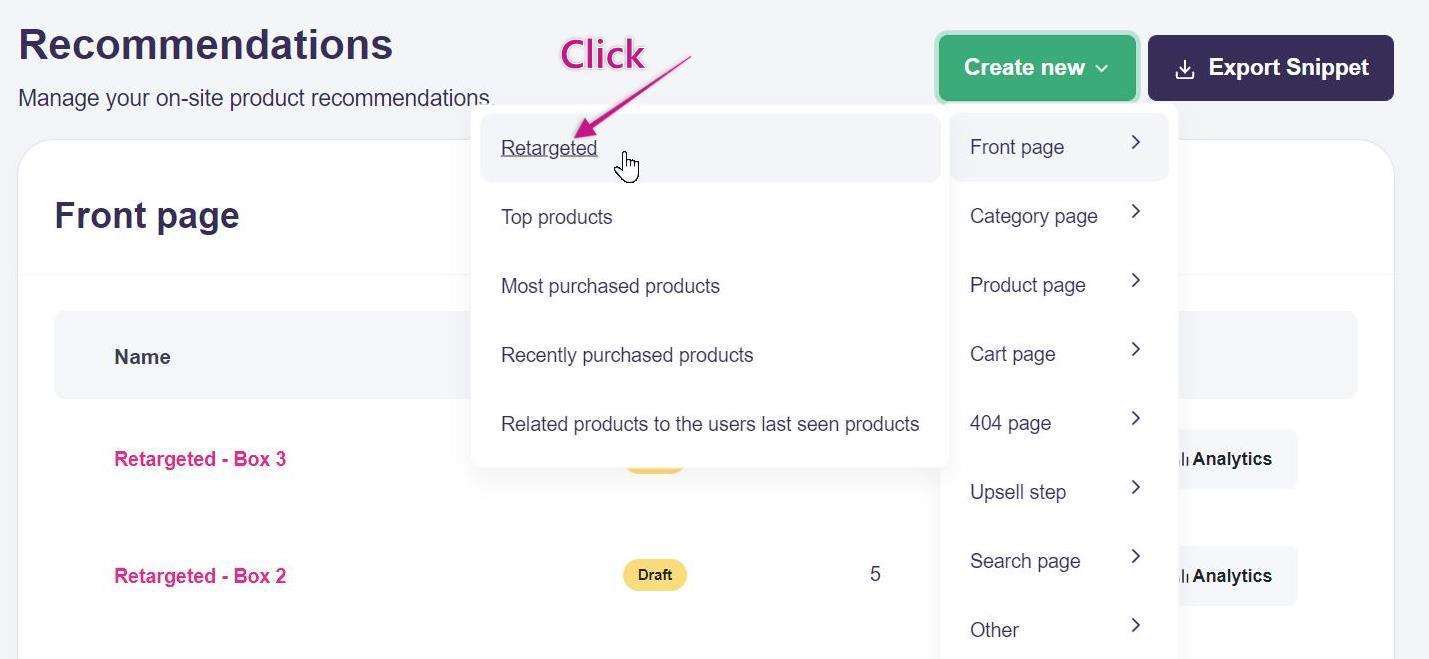
Select the type of Product Recommendation you want to create. In this example, choose Frontpage - Retargeted.
Step 4:
You are now on the Box editor page. Edit the fields you need, such as the name and the number of products to show.
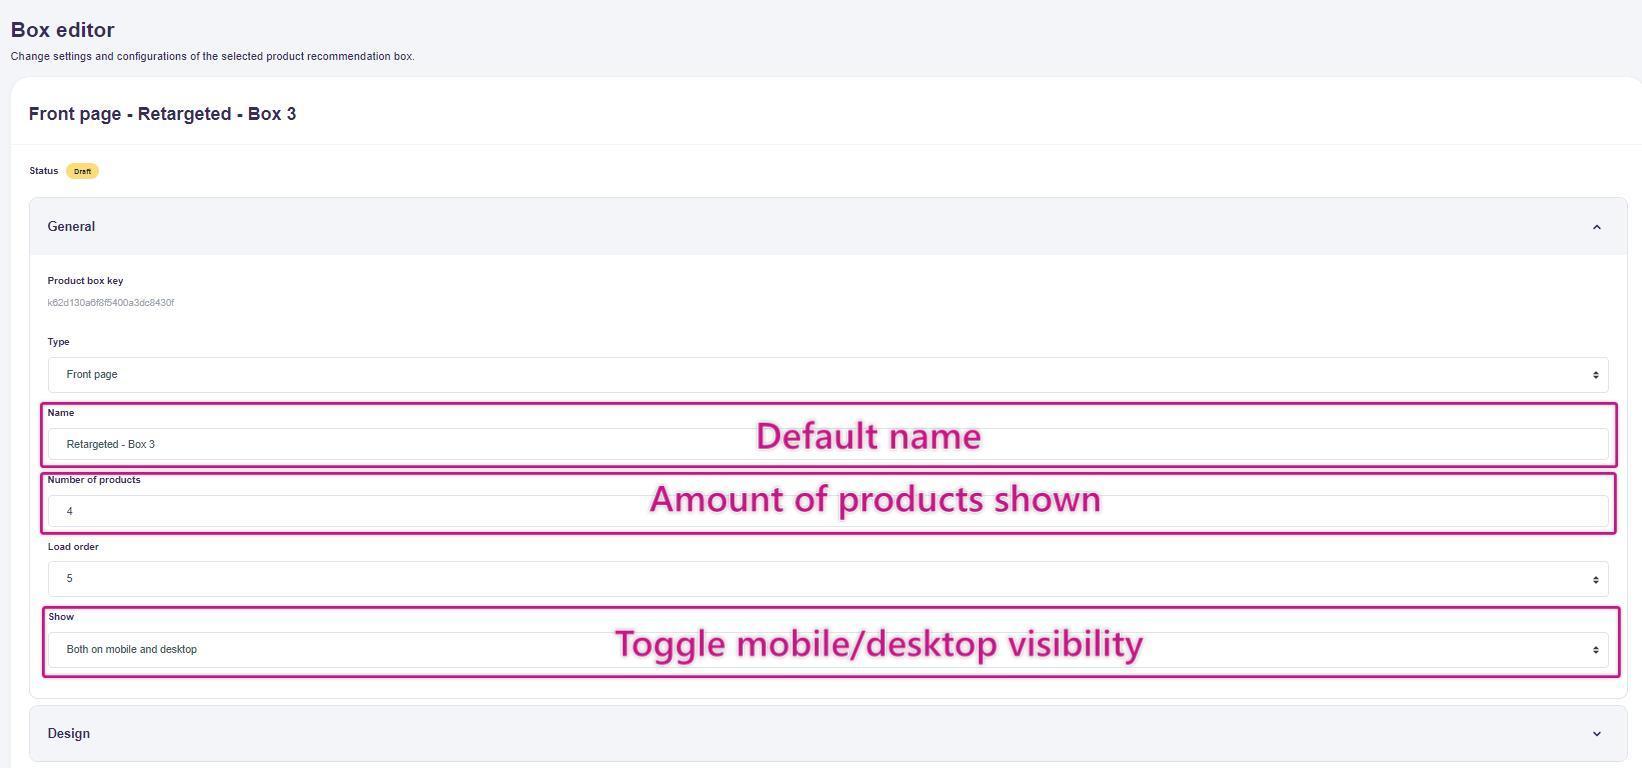
(On the first tab, you can set the number of products and choose whether to show the recommendation on mobile, desktop, or both.)
Enter the number of products to display and select where the recommendation is visible.
General:
- Number of products — Total number of products shown in this recommendation.
- Show — Device targeting. Options: Only mobile, Only desktop, or Both mobile and desktop.
When done, click Design.
Step 5:
Next is the Design settings. Choose a default design with or without a slider, and enter a headline for the box.
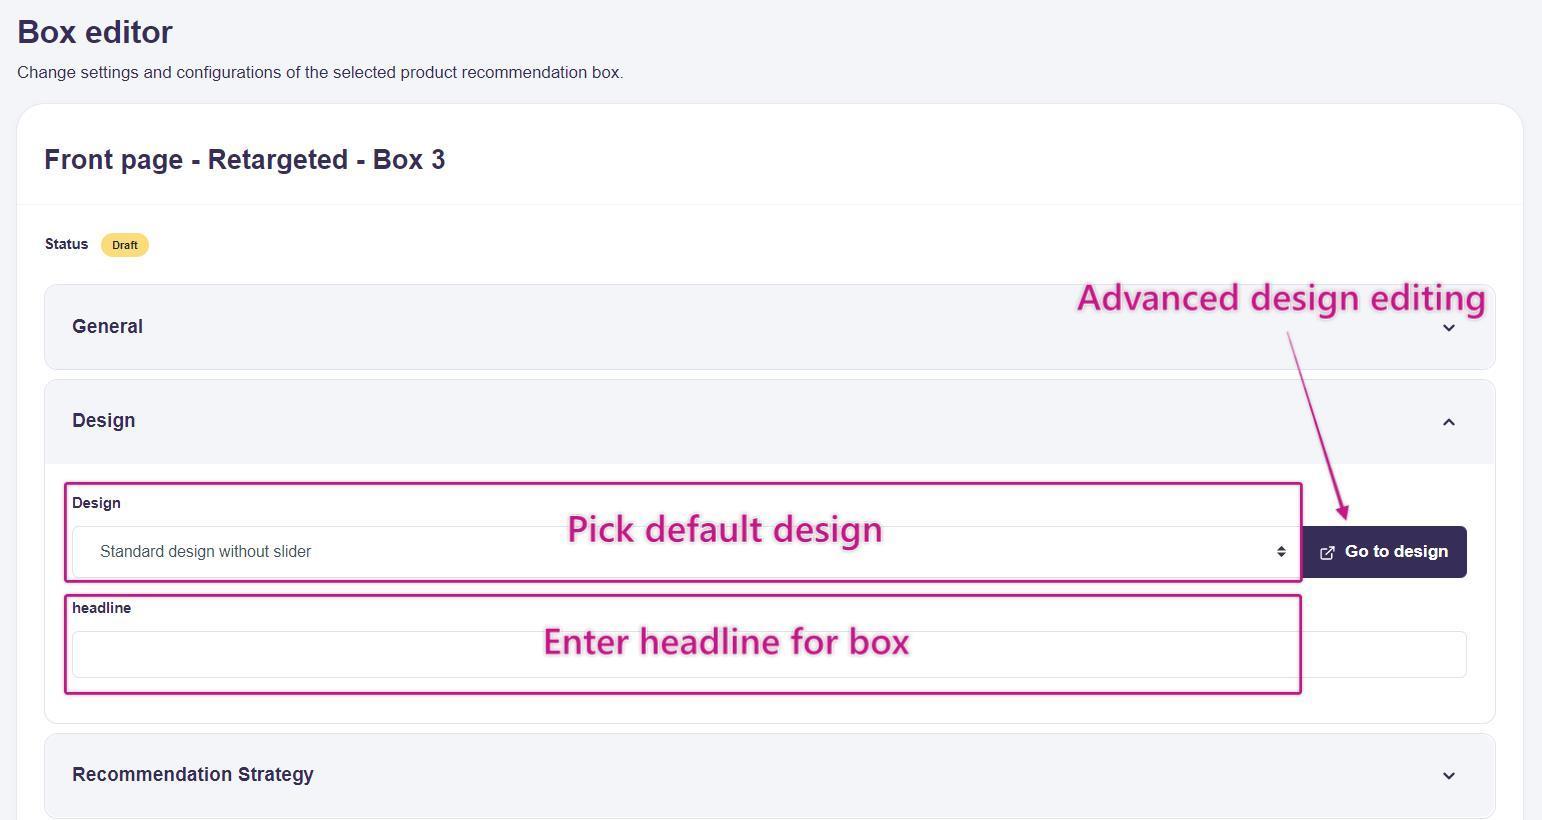
(In Design settings, you can change the headline and choose the design.)
Design Settings Tab:
- Design — Choose a default design with or without a slider.
- Headline — Title displayed above the recommendations.
- Go to design — Edit the source code for the recommendation (advanced).
Step 6:
If you are not comfortable with coding, skip this step.
To edit the design source code for custom changes, click Designs > Standard designs and pick a design from the dropdown.
If you are comfortable with HTML/CSS, you can edit the source code. See our article on template tags and variables for available variables and helpers.
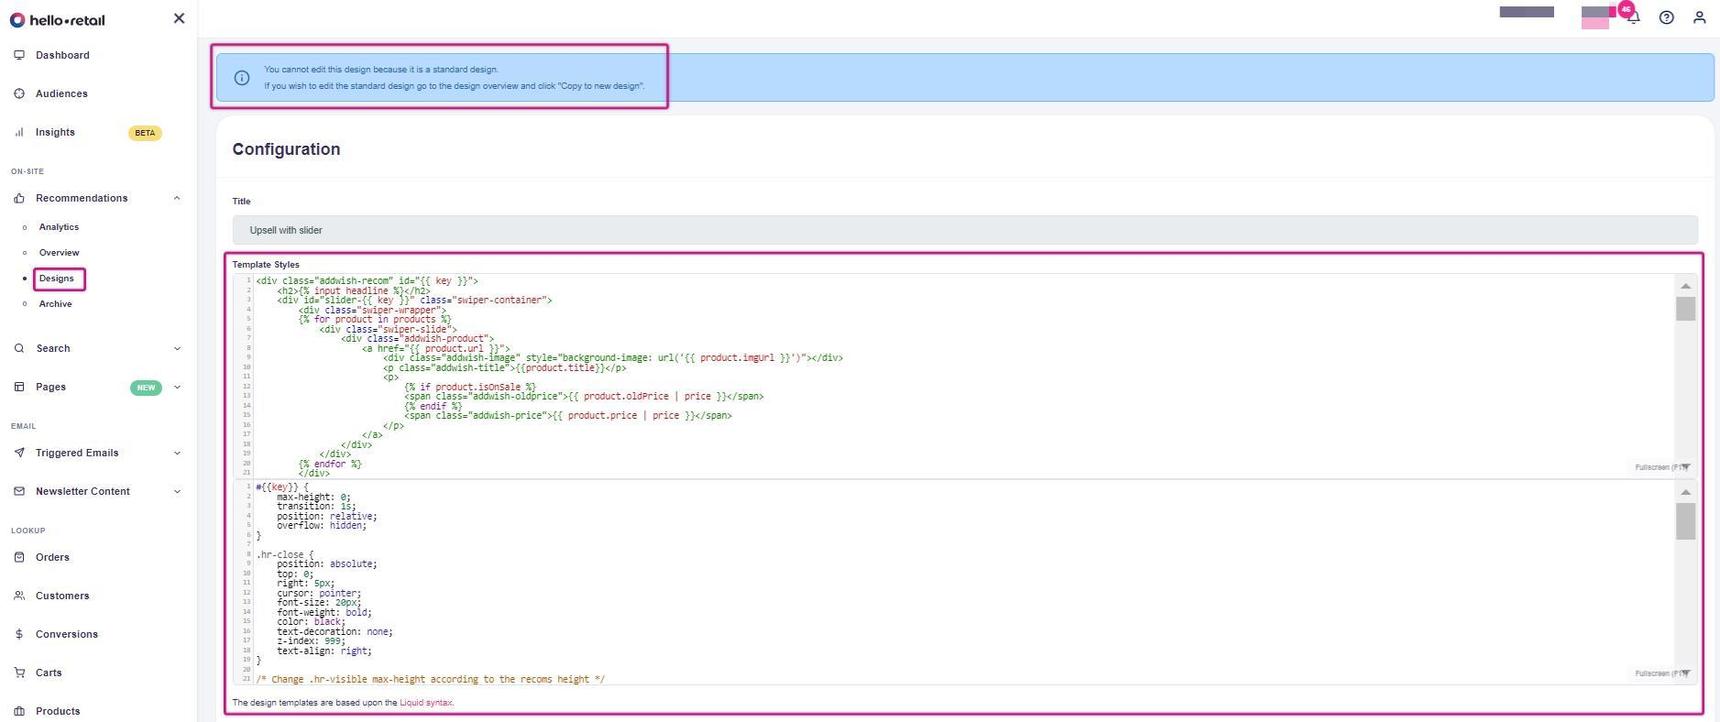 On the first page, you will see the code for the default design. This code cannot be edited. To create your own design, go to Recommendations > Designs to open the following page.
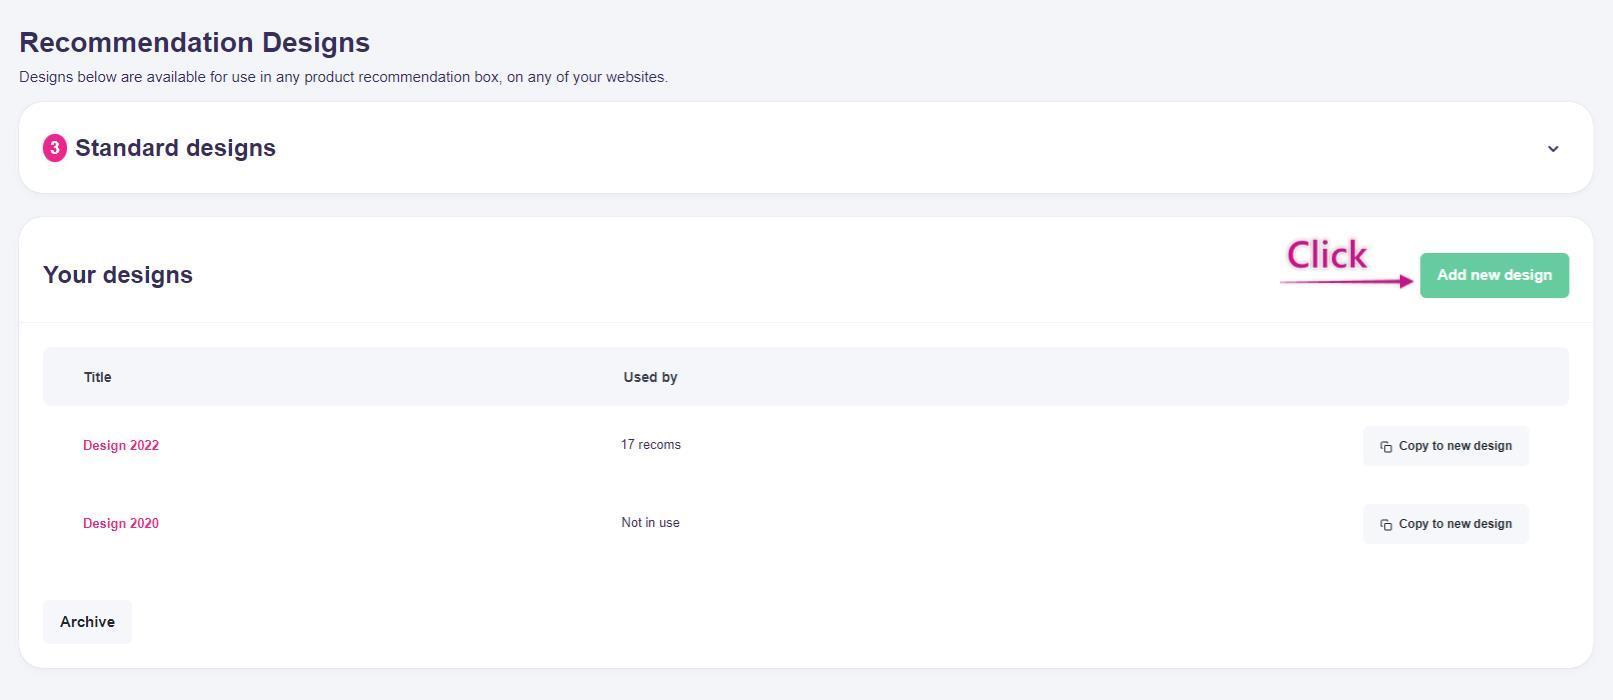 Here you can see an overview of existing custom designs, if any. To add a new design, click Add new design.
Create your design and save it. You can then select your new design from the dropdown under the Design tab on the Box editor page.
Step 7:
Product Recommendations include many pre-built strategies based on customer behavior. To customize a strategy to your needs, click Customize.
Recommendation Strategy Tab:
- Pre-built strategies — Select from predefined recommendation strategies.
- Customize — Manually edit the selected strategy.
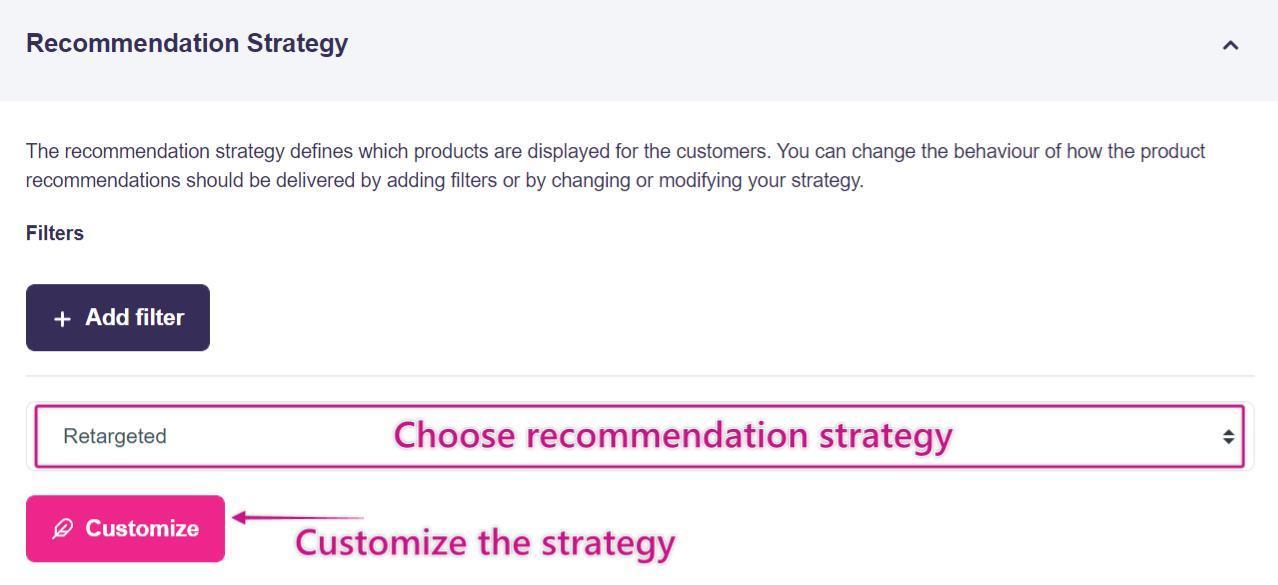
When satisfied with your strategy, click Google Analytics.
Step 8:
This page shows how this Product Recommendation will be labeled in Google Analytics, allowing you to track performance in GA. Read more here. 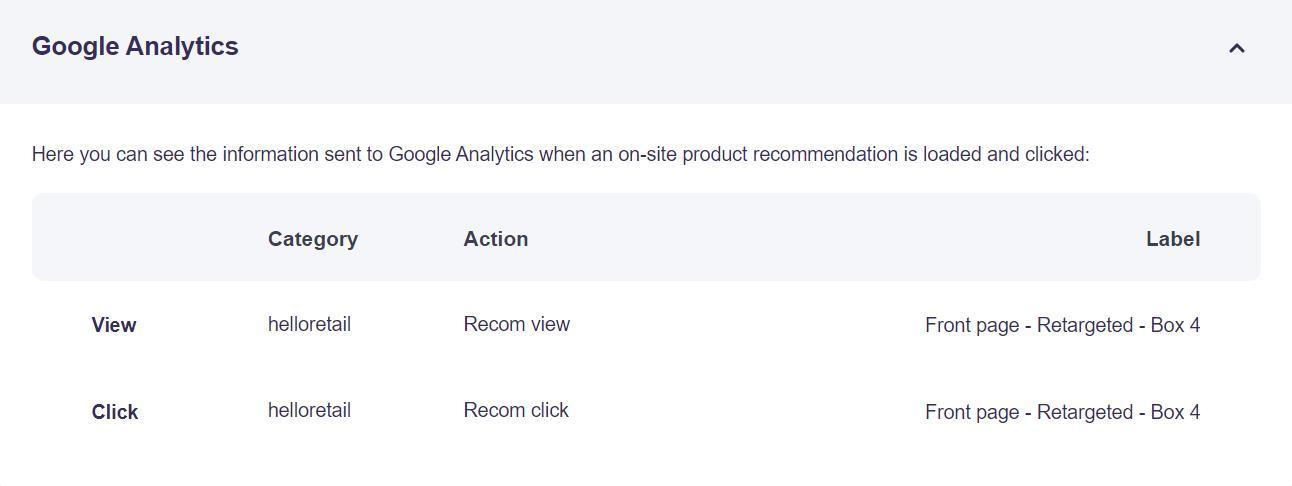
Step 9:
Copy the generated code snippet and insert it into your site where you want the Product Recommendation to appear. After copying the code snippet, click Save Draft. 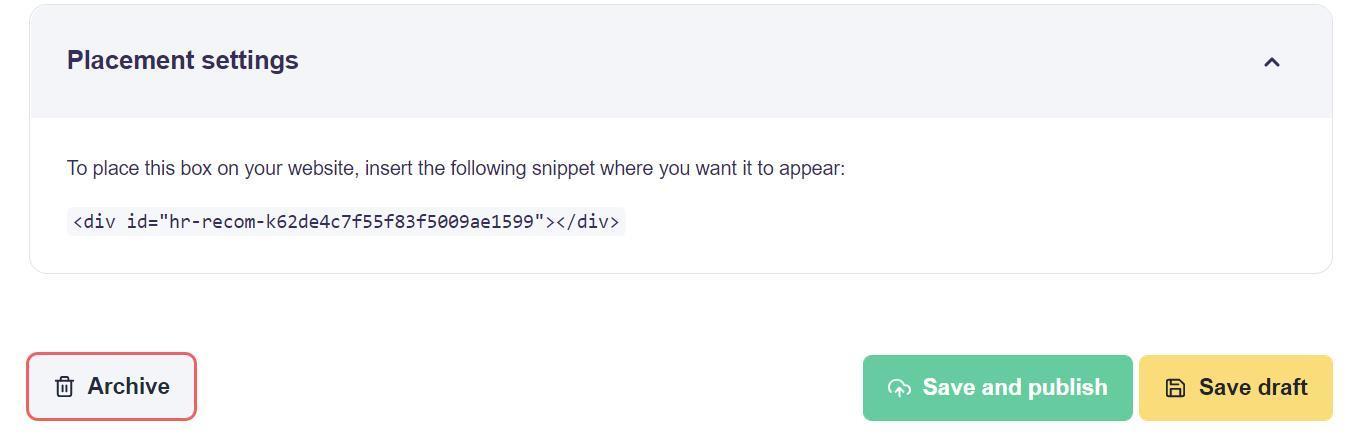
You have now set up your Product Recommendation.
To verify the recommendations work as intended, follow our review guide. If you are satisfied with the result, click Save and publish.