 Avg. 3 min read
 Base Design for Triggered Emails
The base design wraps every triggered email. Use it to add your company logo, define colors, and set shared layout elements. You can read more about the overall design of triggered emails here.
To create a base design, select Create base design now on the start page of your Hello Retail account. You can also navigate to Triggered emails > Designs.

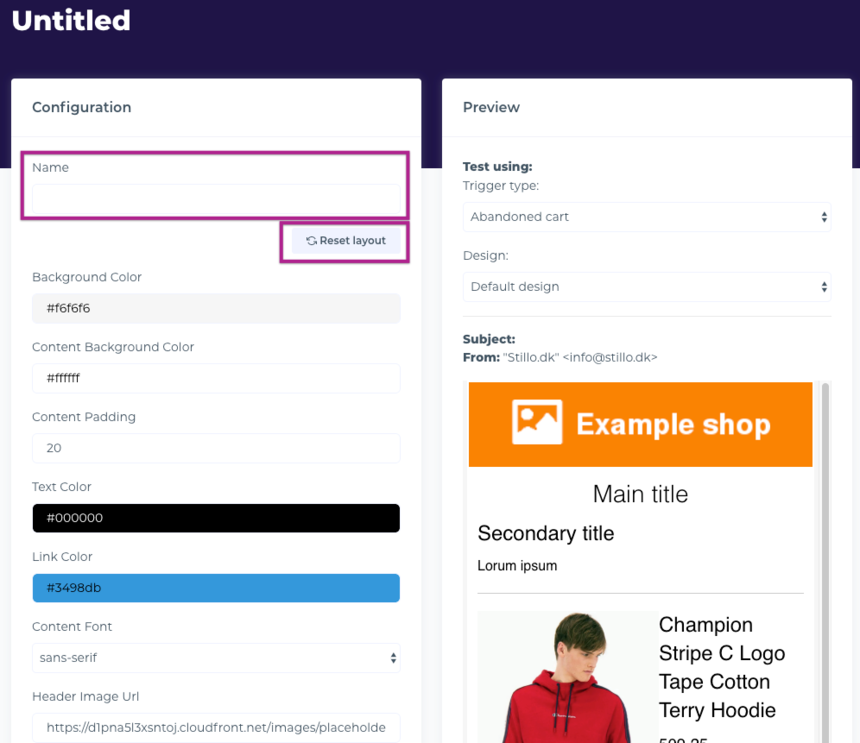
You are now on the edit page for the base design. Configure the available parameters to match your webshop. Start by giving the design a name. You can create multiple base designs, but most shops use a single design.
If needed, select Reset layout to revert to the default and start over.
The steps below cover key parameters. Review all settings to ensure they match your brand.
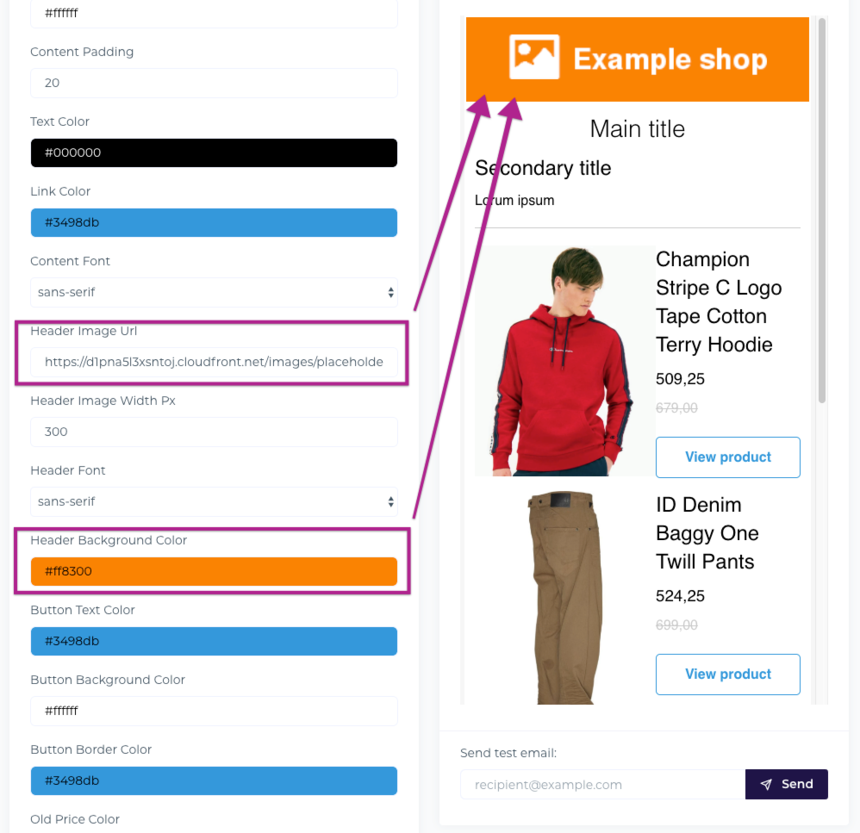
Add your company logo. You can either provide a link to an external image or upload the image to Assets and paste its name into the "Header Image Url" field. Update the Header Background Color to match your design.
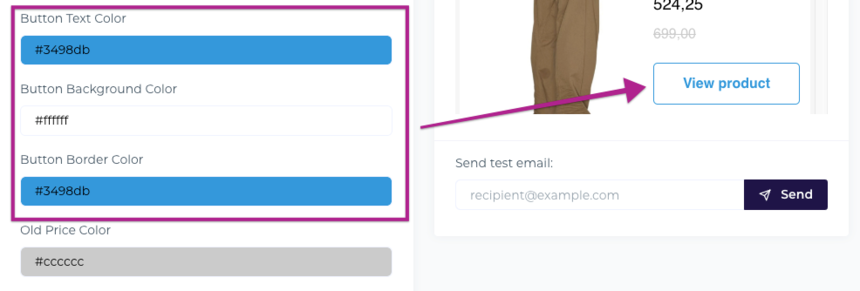
Configure the button design. Enter your brand color as a hex code. If needed, use a color picker to determine the hex values used on your site.
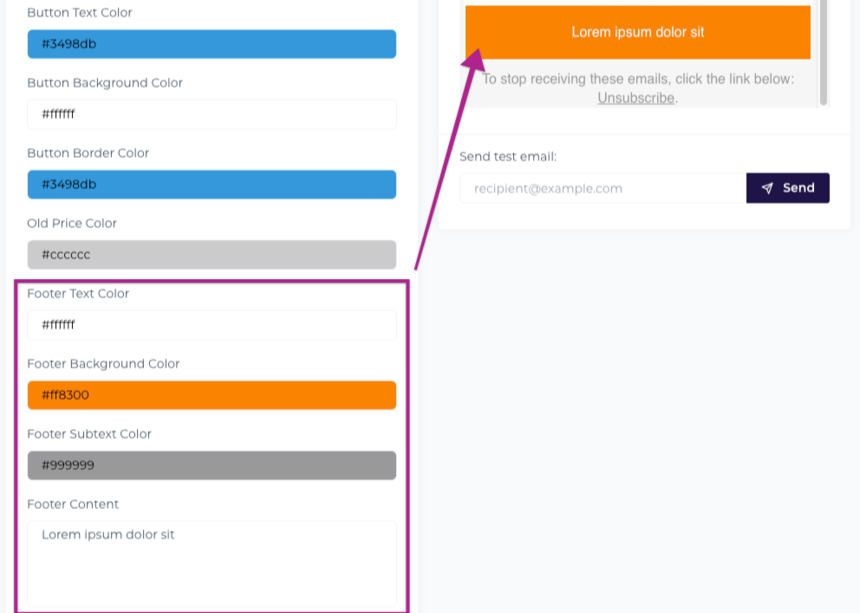
Update the footer color and content. You can usually copy the footer text directly from your site.
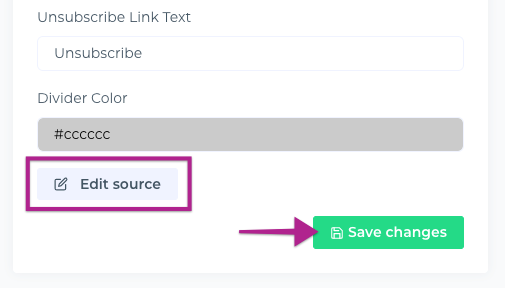
For advanced changes, select Edit source to modify the HTML and CSS. Be cautious: small code changes can affect rendering across email clients. If you only change the predefined parameters, the layout will render consistently.
After saving the base design, you are ready to design the actual content of the triggered emails.
Learn how to design the Abandoned Cart content here.
Learn how to design the Post Conversion content here.
Learn how to design the Price Drop content here.
Learn how to design the Back in Stock content here.