 Avg. 2 min read
 Setting up the Post-Conversion Trigger
In this guide, you can read and learn about how to set up the post-conversion trigger for triggered emails.
Steps on How to Set Up the Post-Conversion Trigger
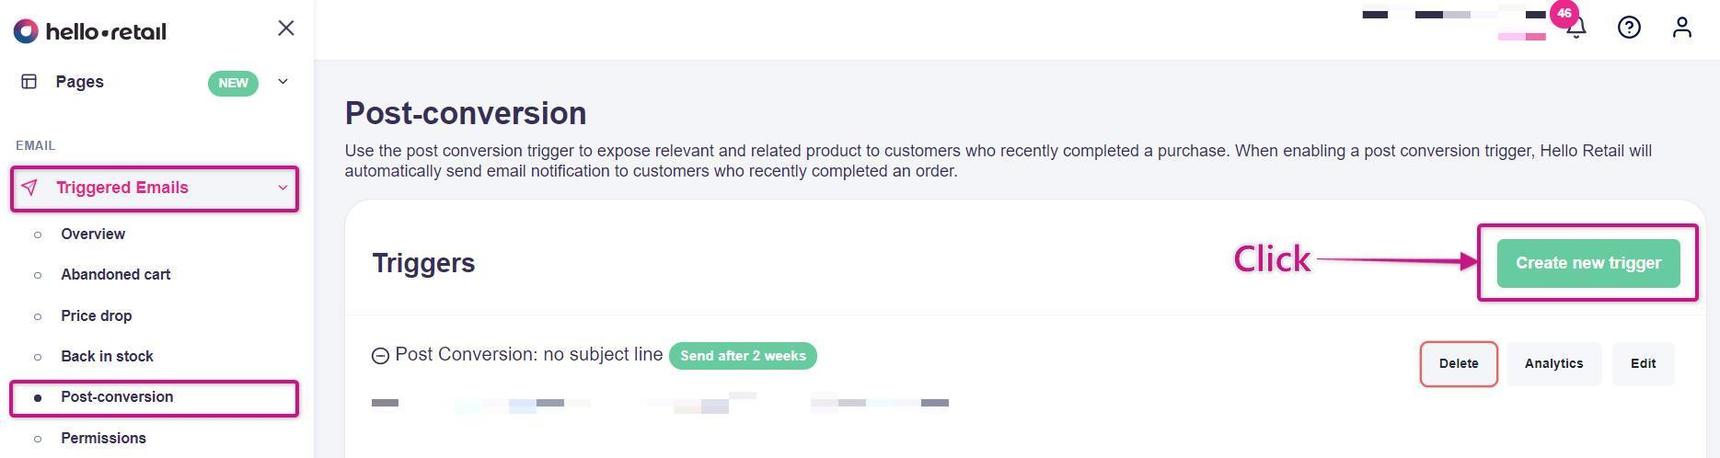
- Start by logging into your Hello Retail account. On the dashboard, go to the left-hand menu. Under Emails, click Triggered Emails to open the drop-down menu.
- In the drop-down, click Post-conversion.
-
On the Post-conversion page, click Create new trigger.
In cases where you want multiple post-conversion triggers active:
You can enable up to three post-conversion triggers and set the delay between each trigger. 4. Tick the Enable trigger checkbox. Specify when the email should be sent. You can also choose whether to send the post-conversion email if the customer places another order before the scheduled send.

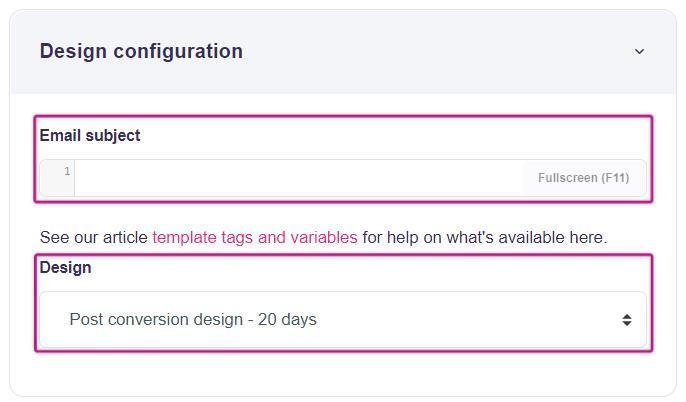 5. Specify the email subject line and select the design you want.
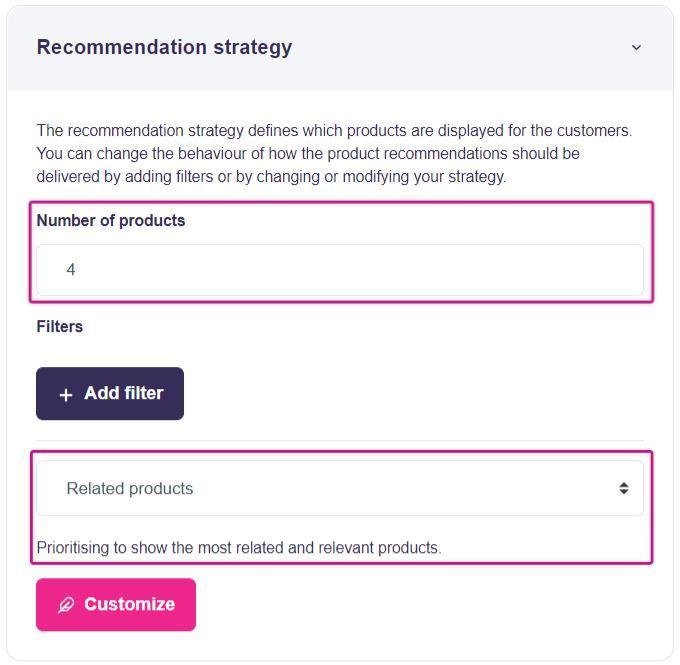
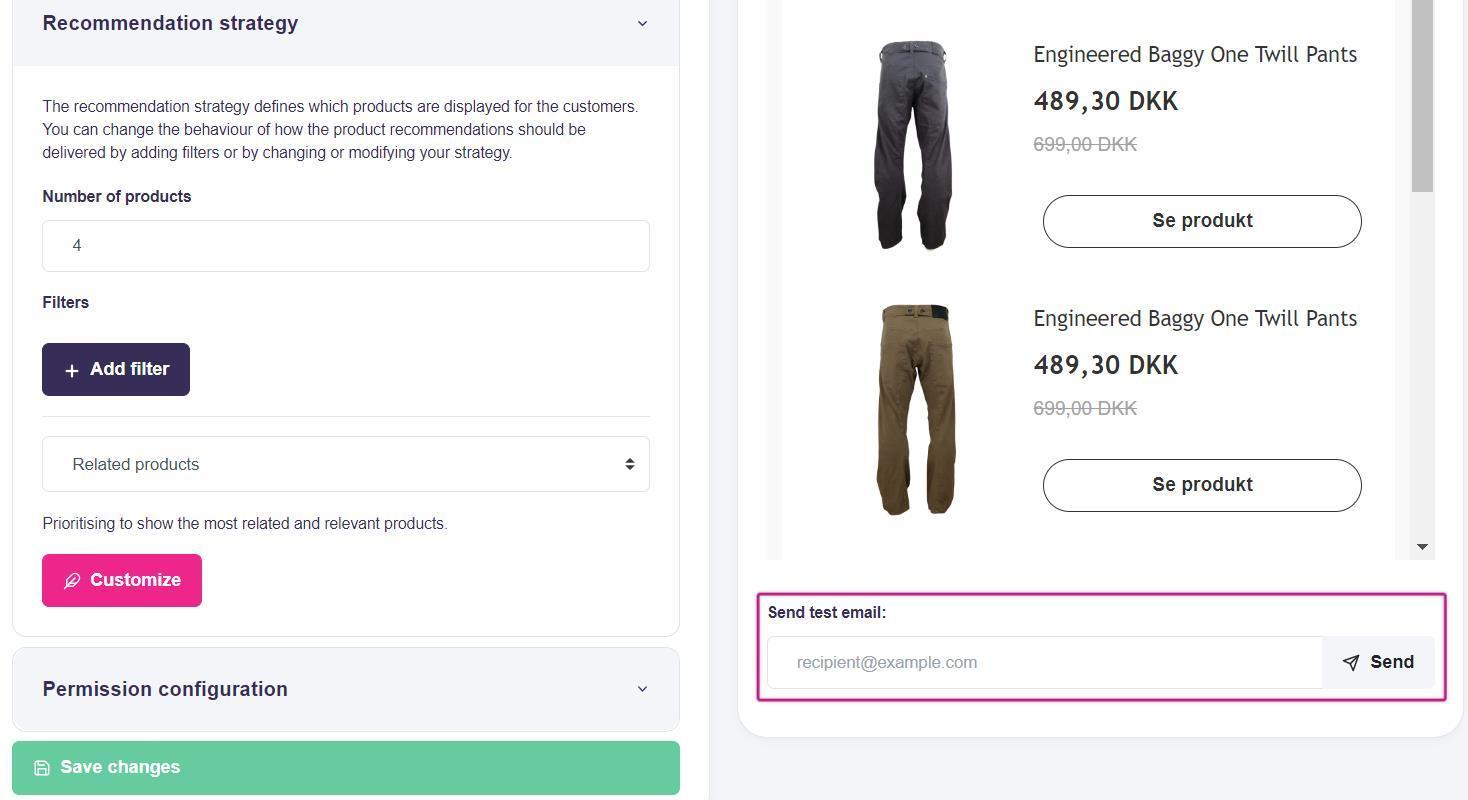
6. Select the number of related products to display and configure the product selection rules.
 7. Configure the permission settings. Your already uploaded permissions will be used. This option may be subject to local regulations. Ensure compliance with the rules in your country. Save your changes – the Post-conversion trigger is now ready.
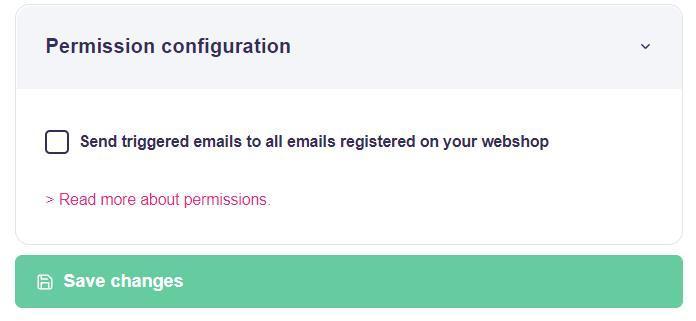
Note
To preview the email, send a test email to your inbox from the trigger editor.
If you have any questions about this guide, then please contact Support or your designated Account Manager about this.